

Contact & Links
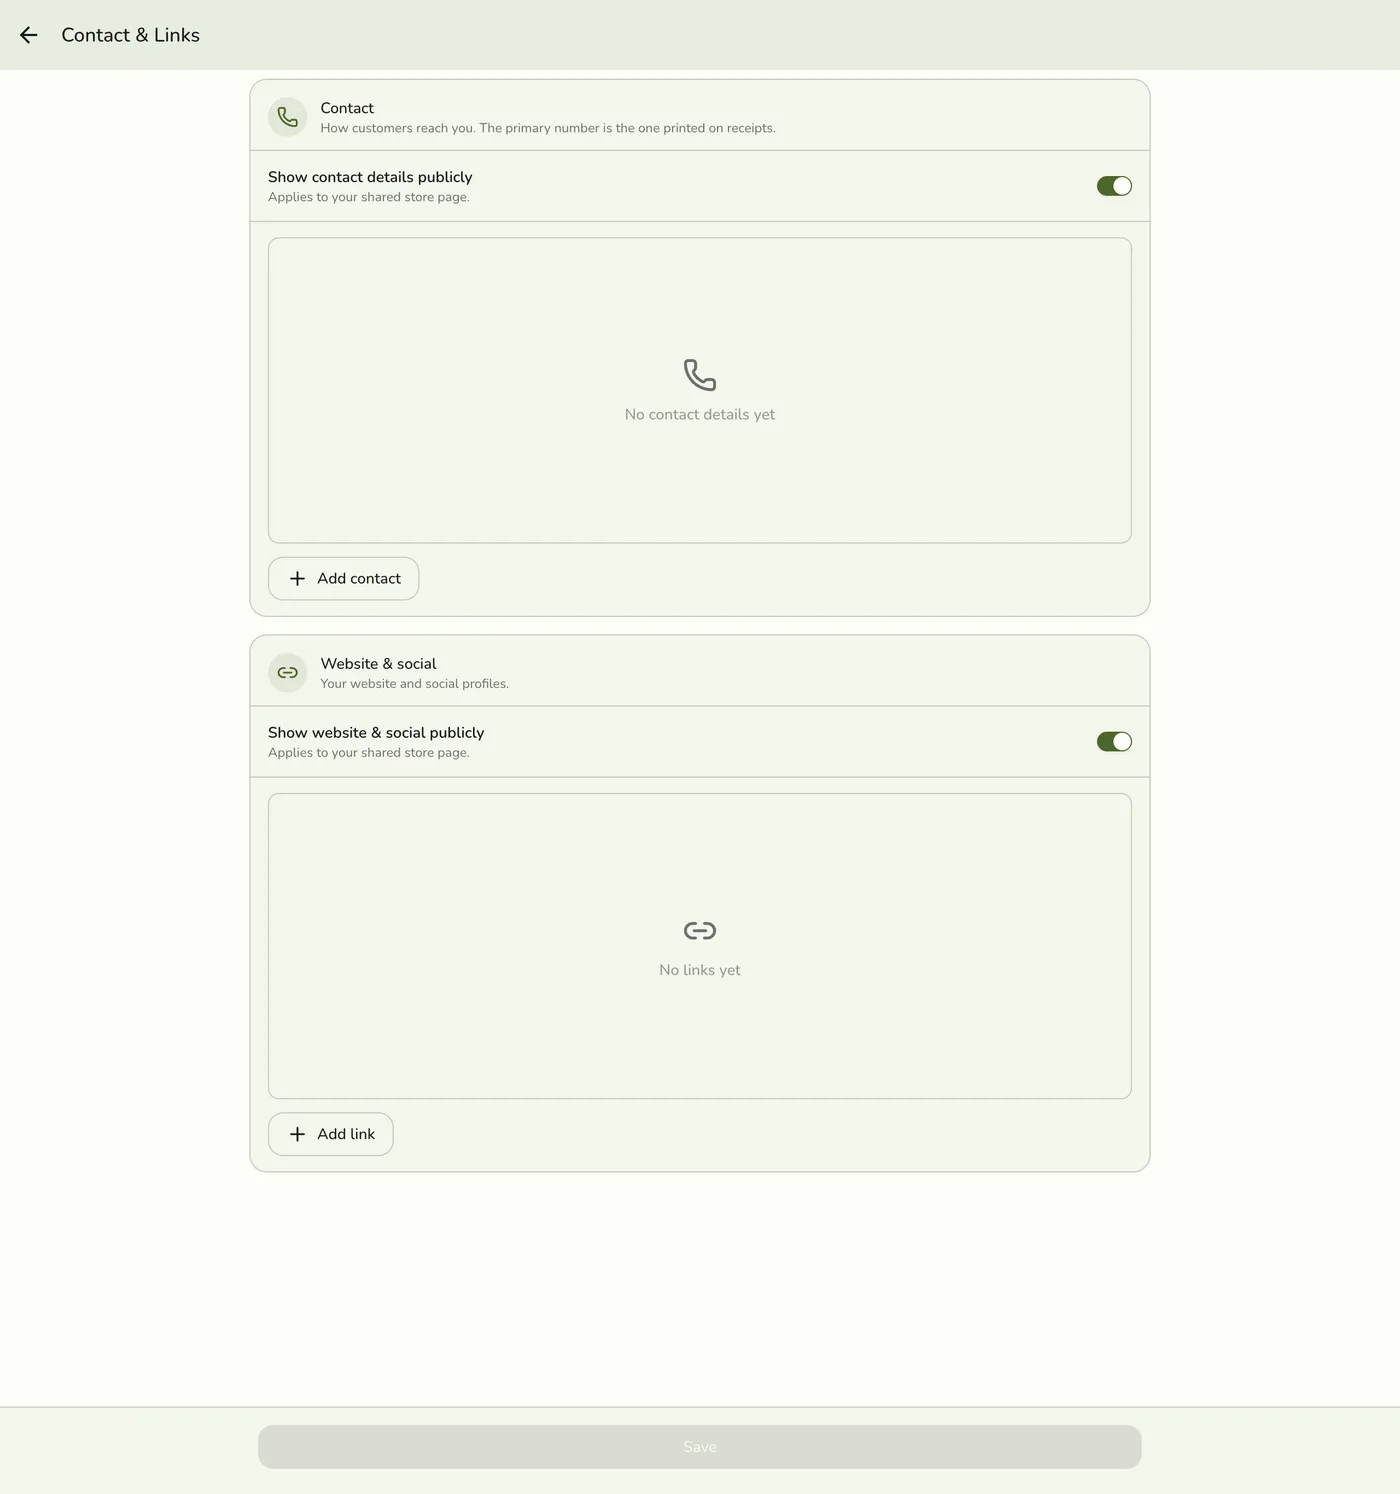
Contact & Links is where you record every way a customer can reach you or follow you — phone numbers, email, your website, and your social profiles — in one list.
You control three separate things per entry: the order they appear in, whether customers see it on your public store page, and (for phone numbers) which one is your main number.
Open the drawer menu → Configurations → Contact & Links.
This replaces the old Web screen
The Web screen only held three social links and never showed them to
customers. Everything saved there has been carried over automatically — your
Facebook and Instagram links are already in the Links section, and X
(Twitter) appears as X.
What you can add
The list is split into two sections.
Contact — the ways a customer gets in touch:
- Mobile number
- Landline
- Messenger
- Instagram message
- Viber
- Telegram
Links — the places a customer can visit:
- Website
- Facebook (your Page — this is the public profile, not chat)
- TikTok
- X
- YouTube
Add an entry
Open Contact & Links
Drawer menu → Configurations → Contact & Links.
Tap Add in the section you want
Each section has its own Add button. Pick the type from the list that appears.
Enter the value
Type the phone number, email address, website, or profile link. For social profiles and chat apps you can paste the full URL (https://facebook.com/yourstore, https://m.me/yourstore) or just your handle (yourstore) — we build the correct link either way. Add Messenger (or Instagram message / Telegram) under Contact when customers should message you; a Facebook Page under Website & social stays a profile link on your store page.
Add a label (optional)
Use the label when one type appears twice, so staff and customers can tell them apart — "Front desk" and "Delivery hotline" on two mobile numbers, for example.
Save
Tap Save. This entry is saved on its own — you don't need to save the rest of the list, and nothing else on the screen changes.
You can add more than one of the same type
Two mobile numbers, a landline and a WhatsApp number — add as many as you
need, up to 20 entries in total.
Edit or delete an entry
Tap the ⋮ menu on any row for Edit, Make primary (phone numbers only), and Delete. Edit reopens the same form pre-filled; save it and only that entry changes. Delete asks you to confirm, then removes the entry right away.
Set your main number
Open the ⋮ menu on a phone-type entry in the Contact section and choose Make primary. Only one entry can be the main number at a time — choosing a new one replaces the old one immediately.
Your main number is the one that prints on receipts. If you have not chosen one, the first phone number you add becomes the main number automatically.
Main and visible are different settings
Turning an entry off still leaves it as your main number, and it will keep
printing on receipts. Hiding a number from customers and keeping it off your
receipts are two separate decisions, so you make them separately.
Choose what customers see
Each entry has a switch that controls whether it appears on your public store page. Turn it off to keep the entry on file without showing it to customers.
Above each section there is a master switch:
- Show contact details publicly — turns the whole Contact section on or off for customers
- Show website & social publicly — turns the whole Links section on or off for customers
Both are on by default. An entry appears publicly only when its own switch is on and its section's master switch is on.
Your street address has its own separate switch and works the other way round — it is off by default. See Customer visibility & hours.
Your socials are visible by default
Because these master switches start switched on, any social links you saved on
the old Web screen are now visible on your public store page. If you would
rather keep some of them private, turn off the individual entry or the whole
Show website & social publicly switch.
Reorder the list
Drag the handle on the left of any row to change the order. Customers see them in the order you set here.
You can only reorder within a section — Contact entries stay in the Contact section and Links stay in Links.
Where these appear
| Surface | What shows |
|---|---|
Your public store page (/store/your-store) | Visible entries only, in your order, tappable — phone dials, email opens mail |
| Printed receipts | Your main phone number |
| Store directory and live order-status pages | Not shown — those surfaces stay limited to store name, hours, and order details |
Who can do this
Editing Contact & Links needs the Store Modify permission. Store owners and organization owners and admins have it automatically. Staff without it will not see the screen in Configurations.