

Floor Plan Overview
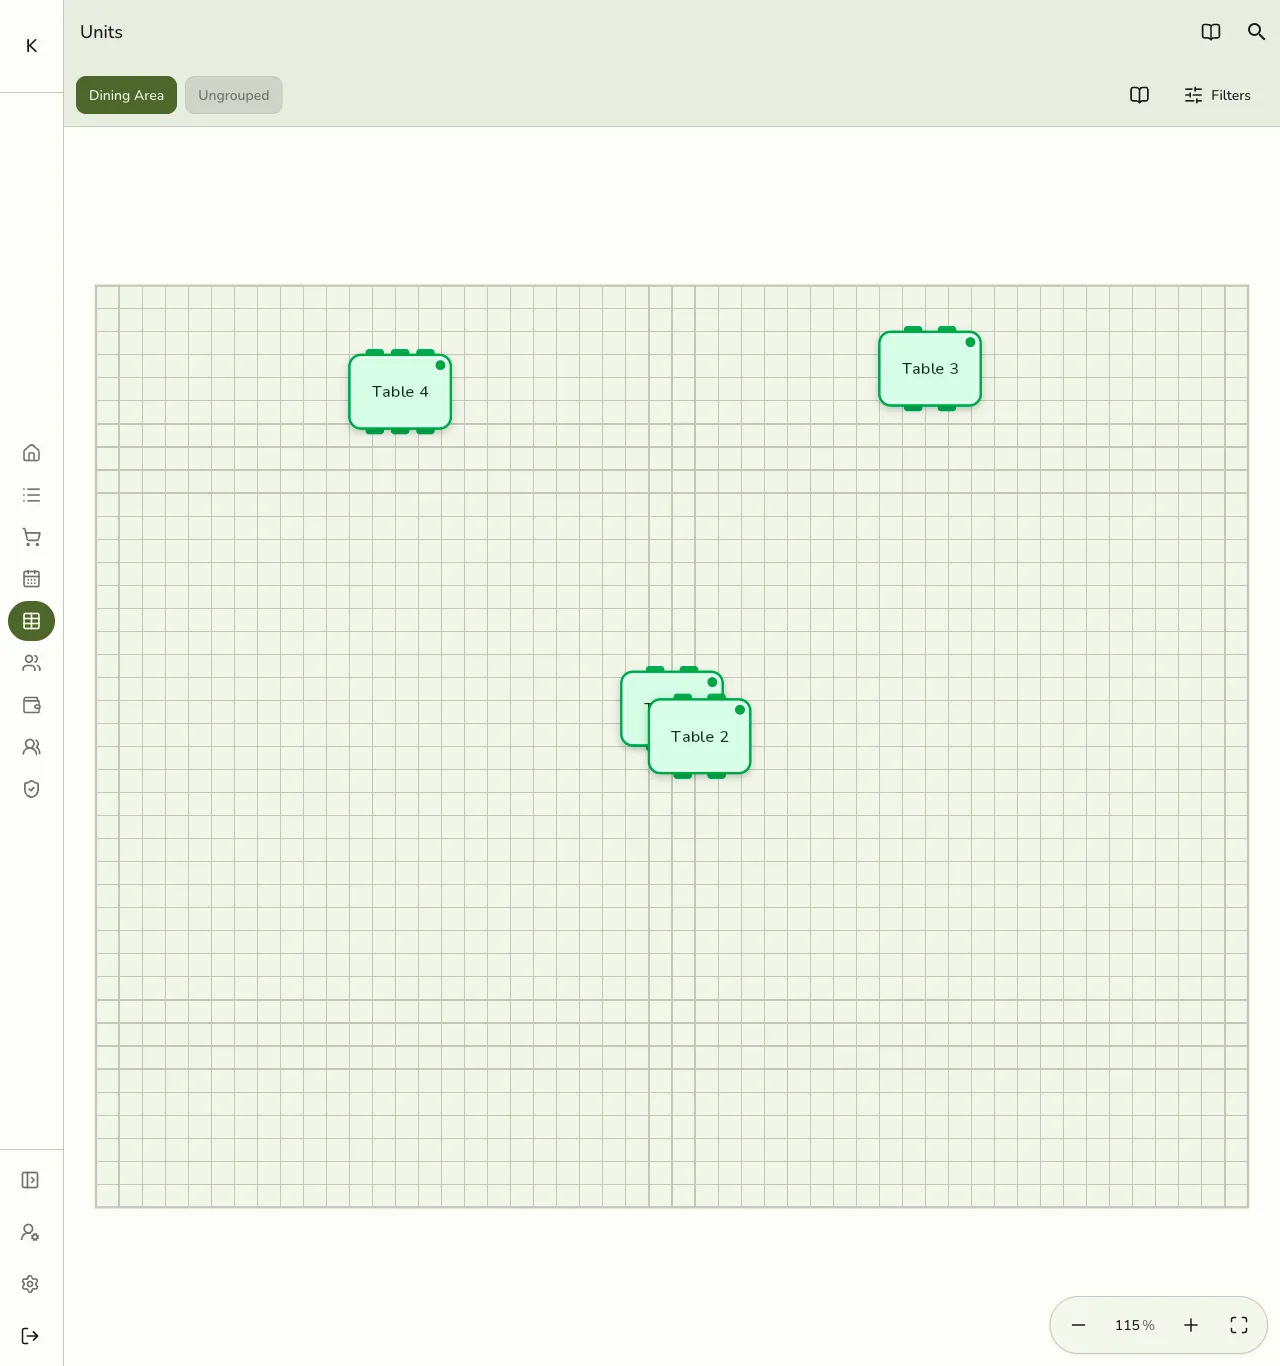
Floor Plan lets you draw your room layout and run service from that map on the register. It sits on top of Areas and Units — you still create tables and rooms the usual way; this add-on adds the visual editor and the live floor on POS.
Add-on required. This feature requires the Floor Plan add-on to be active on your store. View add-ons
Included free during a Free Trial (except Advanced Inventory and Organization). After trial, activate it per store from Add-ons.
Before you start
Floor Plan needs Areas and Units. Those are plan features — not available on the free Basic plan.
Paid plan required. Areas and Units is available on any paid plan (Starter and up). It is not included on the free Basic plan. View plans
- Create areas and units under Configurations → Operations → Areas / Units.
- Activate the Floor Plan add-on for the store (or use Free Trial).
- Staff need Floor Plan → View to open Floor Plans; Floor Plan → Modify to create, edit, delete, or flip Show on register. See Roles & Permissions.
What’s included
| Guide | What you’ll learn |
|---|---|
| Creating a floor plan | New floor plan, pick an Area, set room size |
| Editing and placing units | Editor tools, Save, Unplaced units tray |
| Live floor on POS | Show on register, device floor view, Make Order / Transfer |
How it fits with Areas and Units
- Areas / Units (Configurations) — the catalog of spaces and tables. Always the source of truth for capacity, names, and enable.
- Floor Plans (Configurations → Operations) — one layout per area. Deleting a floor plan removes only the drawing; units and areas stay.
- POS → Units — grid by default, or a tappable live floor when the add-on is on, the plan is shown on the register, and this device uses floor view.
Tips
- One floor plan per area. Pick the area carefully when you create the plan.
- Link drawn tables to real units from the Unplaced units tray so live status and order actions work.
- Use Show on register per plan when you are ready for staff to see that area as a map.